Real-time Funnel Analytics Tracking Code
Use of this feature requires an existing funnel. For instructions on funnel creation, see this guide.
Each funnel you create in Kartra has a unique tracking code associated with it. The code is in HTML format, using <script> tags.
If you have pages built outside of Kartra that are part of a funnel, you can embed the code in each of those pages. Once the code is added, Kartra can display visitor counts for those pages as part of the funnel’s analytics.
You do not need to add this code if you already have a Kartra element embedded on that external page (e.g. a Form, Checkout, Video, etc). Tracking is included as part of all embeddable asset code provided by Kartra.
| Note: The URL for the external page must be added to its corresponding asset in the real-time analytics configuration, otherwise analytics will not be shown for the page. |
How to use
To get the tracking code, log in to your Kartra account:
- Go to Funnels > Analytics.
- Click the Select funnel… dropdown on the top right to select a funnel.
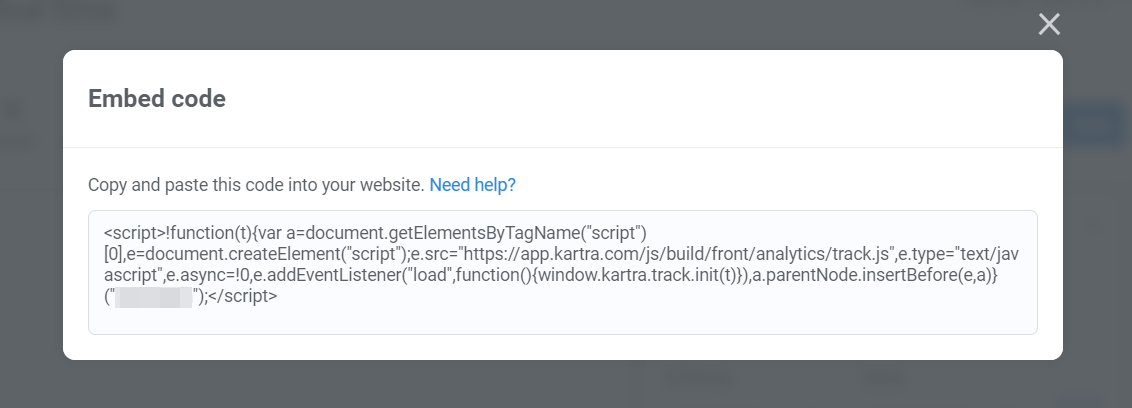
- Click the Tracking code button on the top menu.

- Select and copy the code shown in the Embed code box that pops up.
- Paste the code just before the closing
</body>or</head>tag in your external page.
Below you can find more detailed instructions on how to use the code for some common website/page builders:
- WordPress
- Wix
- SquareSpace
Keep in mind that these instructions may change. If what is explained here does not match what you see in your account for these platforms, visit their support pages for the most up-to-date information.
If you need more details or if you run into any issues, please contact the support team for your website builder. Our own Technical Support team will only be able to help with the Kartra side of this process.
WordPress
Via Theme Editor:
WordPress allows users to edit theme files directly with these steps:
- Navigate to the WordPress dashboard.
- Go to Appearance > Theme Editor.
- Find the
footer.phporheader.phpfile. - Paste the tracking code just before the closing
</body>or</head>tag. - Save changes.
| Note: If you update the theme, all these file changes will be lost. WordPress recommends using a child theme to avoid this. |
| Learn more about theme editing in WordPress: https://wordpress.org/documentation/article/appearance-theme-file-editor-screen/ |
Via Plugins:
Install a plugin (like “Insert Headers and Footers” or “Header and Footer Scripts”) that allows you to paste the tracking code without editing theme files.
Each plugin will have its own installation and use information.
| Learn more about installing plugins in WordPress: https://wordpress.org/documentation/article/manage-plugins/ |
Wix
Wix site settings provide a space for custom code:
- Go to Settings in your site’s dashboard.
- Click the Custom Code tab in the Advanced section.
- Click + Add Custom Code at the top right.
- Paste the code snippet in the text box.
- Enter a name for your code.
- Tip: Give it a name that is easy to recognize so you can quickly identify it later.
- Select an option under Add Code to Pages:
- All pages: This adds the code to all of your site’s pages, including any new pages that you create in the future. Choose whether to load the code only once per visit, or on each page your visitor opens.
- Choose specific pages: Use the drop-down menu to select the relevant pages.
- Choose where to place your code under Place Code in:
- Head
- Body – start
- Body – end
- Click Apply.
| Learn more about custom code in Wix: https://support.wix.com/en/article/embedding-custom-code-on-your-site |
SquareSpace
SquareSpace has a code injection feature that can be used to add scripts and other custom code:
- Open the Developer tools panel.
- Click Code Injection.
- Add valid HTML or scripts into the appropriate Code Injection fields for the header, footer, lock page, order confirmation page, or order status page.
- After adding your code, click Save.
| Learn more about Code injection in SquareSpace: https://support.squarespace.com/hc/en-us/articles/205815908-Using-code-injection |