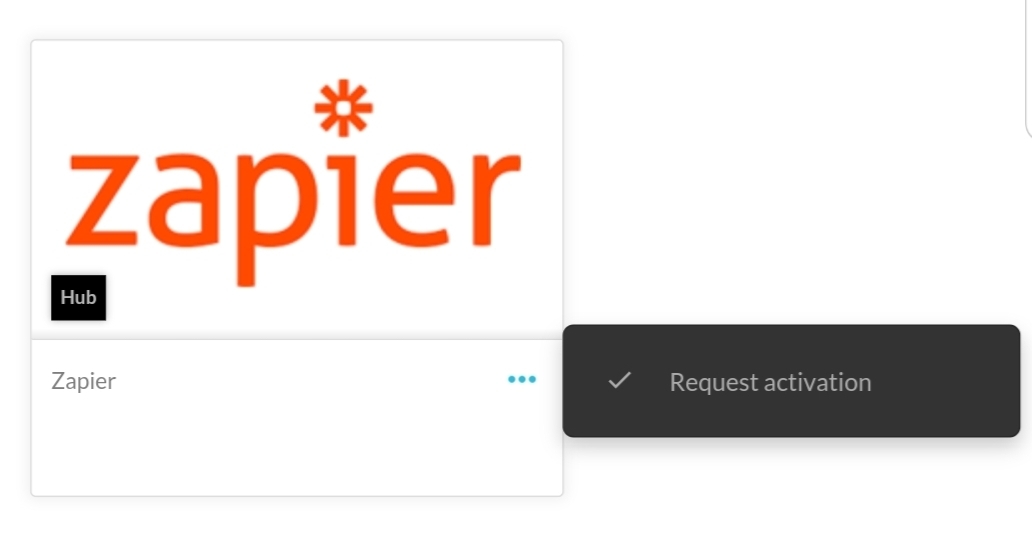
As you start your Zapier integration with Kartra, you will want to make sure you are approved. Proceed to the “my integrations” section of Kartra here: https://app.kartra.com/integrations and scroll down until you find the Zapier icon.
Before you can use the Zapier integration, some accounts might need to request activation. Upon request, our moderators will start the review within one business day. But please be mindful the review itself is not instant and may take a couple weeks at most to complete. As the time for a review is highly variable from one user to the next due to their account history and the use for which they require Zapier access.
*Note: Kartra support cannot speed up or escalate the review process. As support can merely provide advice to help in your review process, but not actually make a decision on it.
Once activated, and as opposed to most integrations in Kartra, the Zapier connection is not meant to be configured from within your Kartra account (except for the initial approval). Instead, everything happens from within your Zapier account, and Zapier will automatically establish the connection with Kartra in the background without you needing to do anything at all.
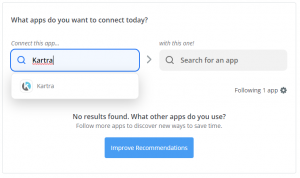
So, to get started, simply search for Kartra from within Zapier, and get those Zaps going!
*Note: the screenshots in this documentation may differ slightly from what you see in Zapier as they update their interface regularly, but the same logic should still apply.
Search for Kartra
Within Zapier you will choose the apps you wish to connect, just make sure one of your choices happens to be Kartra if you wish to integrate with our system.
Once confirmed, we can start setting up your Zaps!
Setting Up Your Triggers
First things first: let’s discuss what Zapier calls the “trigger event“, which is effectively the specific command that initiates an action.
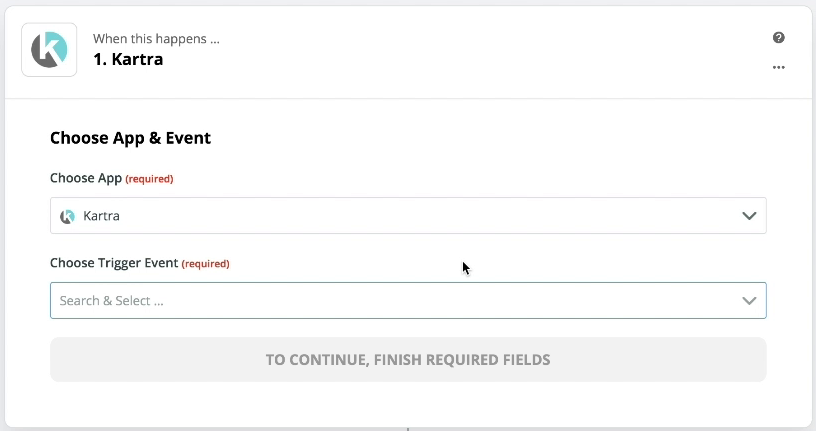
The configuration begins with you defining what the trigger will be for this particular Zap. For example: When a lead opts in to a specific form.
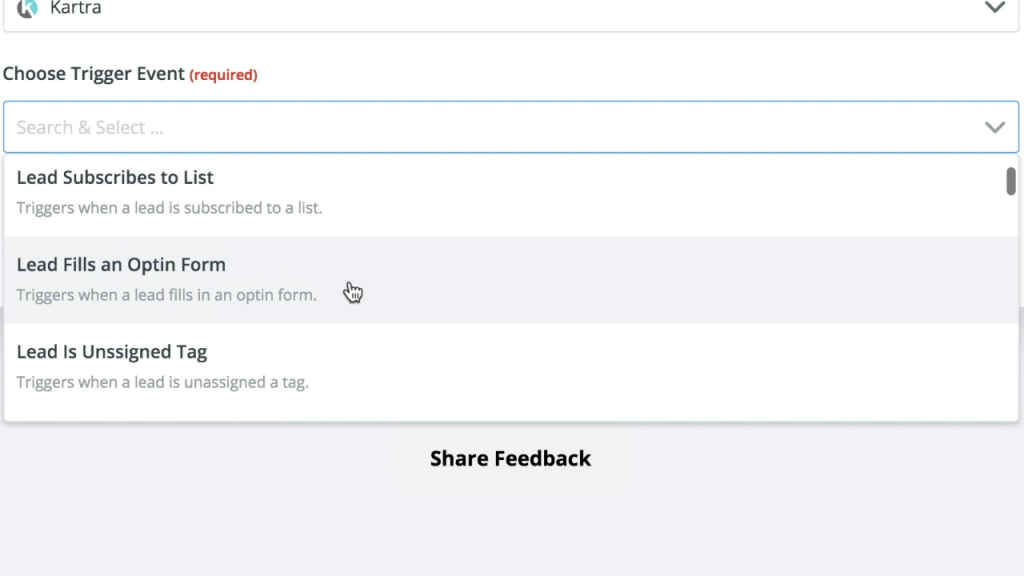
Kartra has a number of triggers you can work with:
- Lead is assigned tag
- Lead is unassigned tag
- Lead subscribes to list
- Lead is unsubscribed from list
- Lead fills opt-in form
- Lead is added to sequence
- Lead is removed from sequence
- Lead completes sequence
- Lead clicks on a tracking link
- Lead plays a Kartra video
- Lead completes a Kartra video
- Lead reaches score for the first time
- Affiliate signs up for product
- JV signs up for product
- Lead is granted access to membership
- Lead is revoked access to membership
- Customer buys product
- Customer refunds product
- Customer cancels subscription
- Lead registers a calendar
- Lead completes a calendar
- Lead cancels a calendar
- Lead visits a Kartra page
- Lead visits external page
- Lead clicks on page split test link
- Customer partial refunds product
After selecting your desired trigger rule, let’s proceed to connect with Kartra.
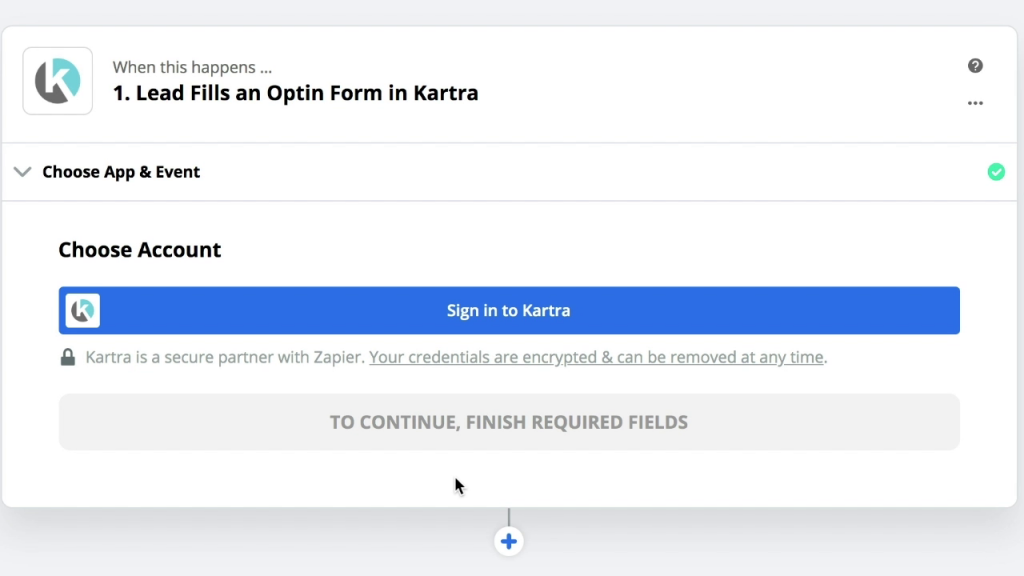
You will be prompted to enter your Kartra API details from within your Kartra account.

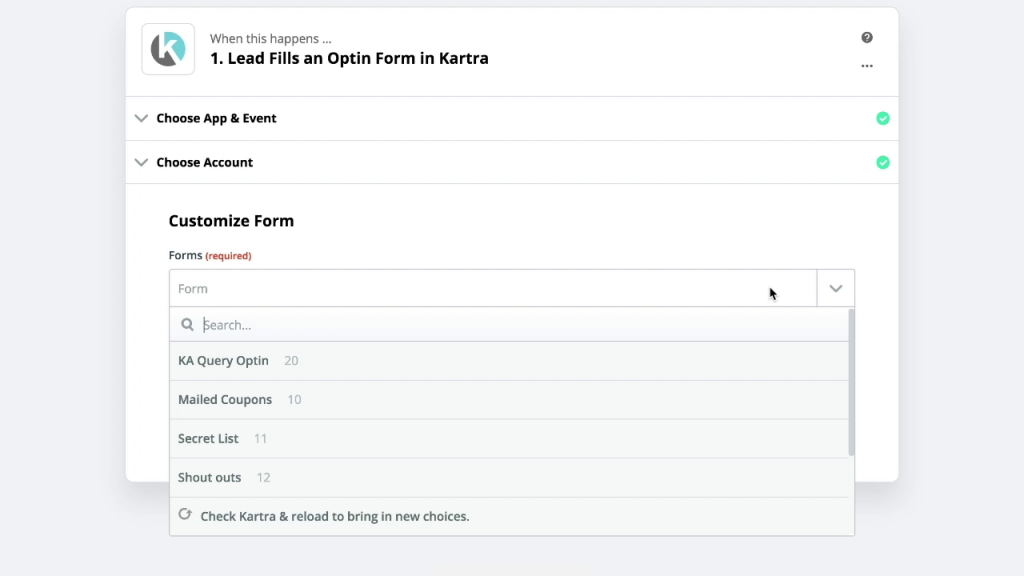
Once the API connection with your Kartra account has been successfully established, Zapier will pull all the assets you’ve configured inside your Kartra account (all your Lists, all your Tags, all your Sequences, etc), and list them in the drop-down.
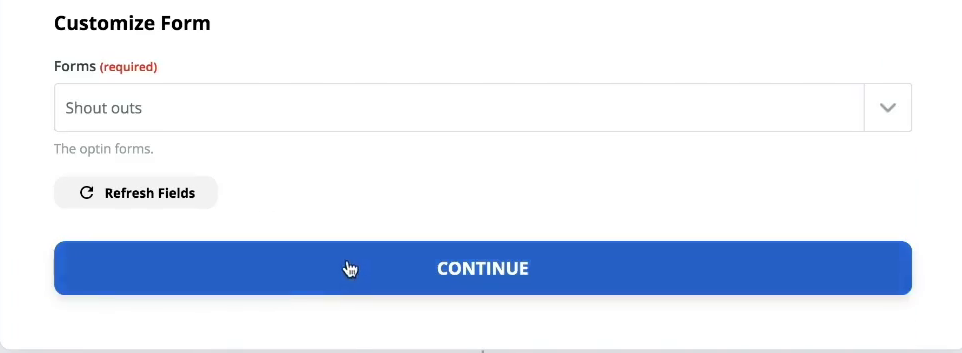
Next up, you need to hit Continue.
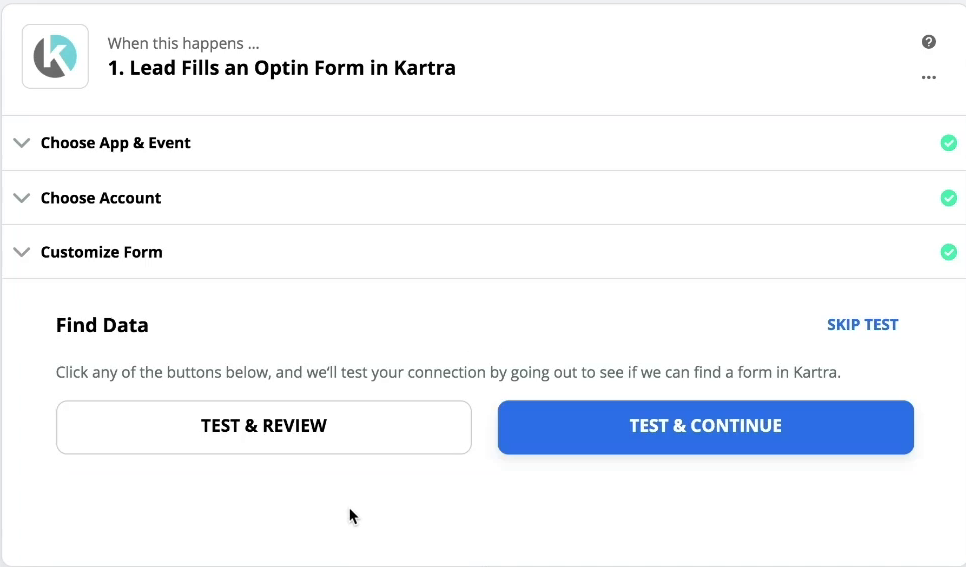
You will notice that you can run a sample test to confirm that Zapier is properly pulling data from your Kartra account.
Setting Up Your Actions
An “action” is a trigger’s outcome, meaning the event you actually want the system to perform when a trigger rule takes place.
So, the first step would be to select the Kartra App and to define your desired action. For example: Assign a Tag to a Lead.

Kartra has a number of actions you can work with, and Zapier will prompt you to choose which one you want to add to this particular Zap:
- Retrieve all the tags in your account
- Retrieve all the lists in your account
- Unassign tag from lead
- Subscribe lead to list
- Unsubscribe lead from list
- Add points to lead
- Remove points from lead
- Subscribe lead to sequence
- Unsubscribe lead from sequence
- Retrieve all the sequences in your account
- Retrieve all the pages in your account
- Assign tag to lead
- Refund a transaction
- Cancel a subscription
- Subscribe lead to calendar
- Cancel lead subscription to calendar
- Create new lead
- Edit lead
- Retrieve all the custom fields in your account
- Create custom field
- Retrieve lead details
- Search lead
Once the type of action is selected, and just like before, the system will ask you to connect your Kartra account’s API keys. However, since you’ve already entered them while setting up your triggers, you can simply pre-select the same connection – no need to configure a new connection all over again.
Anyway, now that the connection for this action is established, you may continue configuring the action for this Zap.
*Please note, you will always need to “create new lead” for any lead that is not already within the Kartra system; this essentially makes the “create new lead” your first action in most scenarios.
Managing Your Leads
Here’s an important thing to remember: In order to perform an action upon a lead, the lead must already exist in your Kartra’s lead database. Otherwise, the system will prompt a “No lead found” error. That means that if you want to execute an action for a brand new user, you will need to use first the “Create New Lead” action, and then follow up with your originally intended action.
Moreover, if you’d like to verify whether a lead is indeed part of your Kartra’s contacts database, you may use the “Search Lead” function by querying his/her email address.

In return, Kartra will ping back either a “Lead found” or “No lead found” message:

As explained above, if the lead does not exist, you will want to create it by using the “Create New Lead” action. Here, you will need to pass the lead’s email (the only mandatory field), plus whatever other optional fields such as first name, last name, etc.

And the system should respond back with a success message:

By the way, remember that for any existing lead in your database, you can always use the Retrieve Lead Details query to import all the lead’s standard fields (first name, address, country, etc), as well as any custom field you might have created. In fact, you could chain this query to any previous trigger:

Anyway, now that you know how to register a lead in your Kartra database and how to retrieve his/her profile details, you can go ahead and perform whatever other actions you wish upon the lead.
All you would need to do is to use the appropriate instruction (Subscribe Lead To List, Assign Tag, etc.) along with the lead’s email address:

Here’s an advanced configuration worth playing with:
If, upon executing an action, you do get the “No lead found” message, you could use Zapier’s built-in Filter App to implement the following chain of events: IF message received is “No lead found“, THEN “Create New Lead” followed by *insert any other action here*.

See the screenshot below: while setting up your Filter, choose “Only Continue If…” and then “Message” being “No lead found“:

Remember that you can chain as many Steps into your Zap as you need:

You’re done! Simply name your Zap and it’s good to go. Congratulations!
