Campaign Builder (Walk-through)
This walk-through will be a step by step guide on how to create a campaign within the Kartra software. A campaign being a Kartra feature that allows you to combine a variety of Kartra based assets to share with other users or to organize content on your own account.
*Please note: User created content within a campaign such as a uploaded image in a Kartra page is not duplicated when you provide a campaign to another user. If you delete that image in your content on your account as an example, it will remove the image from all other users that are utilizing that campaign. This is important to know when managing / deleting past campaigns as this can drastically affect existing campaign users. If you use stock images and content from Kartra then this behavior should not occur, even if you delete the campaign on your end. We highly recommend the use of stock images and Kartra based templates to ensure continued campaign functionality even in the case of removal or account closure.
Basic Info:
The first step will be to access the campaign tab via the left menu within Kartra and clicking either the “+ campaign” button to create a new campaign or editing an already existing campaign.
Once you name and describe your campaign the first step will be to provide a preview for the campaign. This will be a image or video that will display on the campaign itself within the Kartra interface.
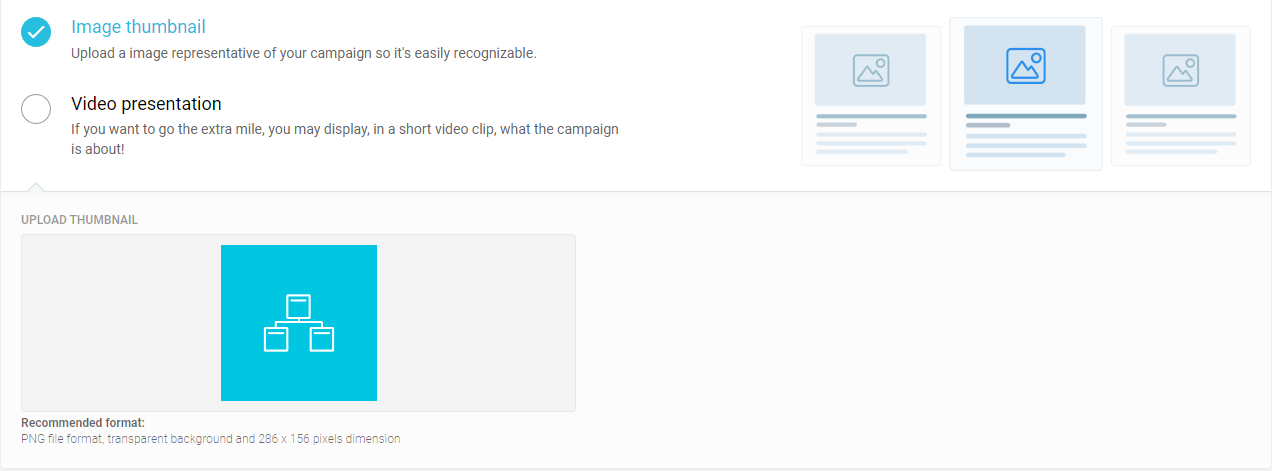
Once you have created a campaign preview you can then click “Save and next” to move on to the next step.
*Please note: In order for a campaign to be created and show in Kartra you must complete all steps of a campaign builder until you reach the “finish” step. If you do not go through all the steps on your first campaign creation at least once the campaign will not be saved or created (despite clicking “Save and Next” multiple times).
Assets:
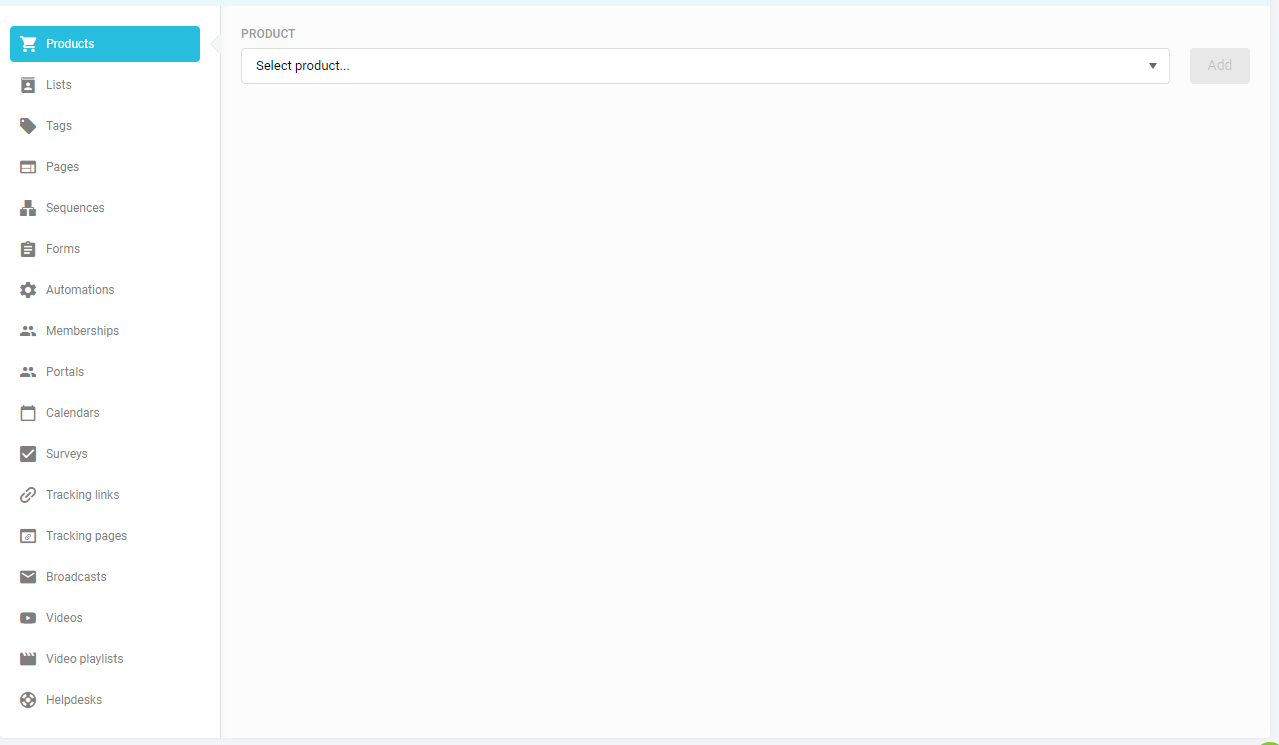
The “Assets” tab is where you will add your Kartra based content into the campaign for sharing. Whatever content you put within this feature will be the content that is uploaded into any user who downloads / uses this campaign.
*Please note: Just because you add content to a Funnel (Visual map) does not mean it will be added to the assets of the campaign. Since the Funnel (Visual Map) is a separate feature, you will still need to add any pages or other content into the “Assets” tab to ensure they will be given to anyone who uses the campaign.
Marketplace:
The “Marketplace” tab is how you will set your privacy options for the campaign as a whole. You can keep the campaign private, which means you need to utilize a sharing code to give access. Or you can list the campaign on the Kartra marketplace where it will be available to the public.
*Please note: Keeping a campaign private does via this step does not mean it cannot be shared. Private vs. public is merely when relating to the Kartra marketplace only.
Upon setting a campaign to be shown within our marketplace, you will see a variety of new tabs to manage your content via our public forum.
- Free or Paid
- Pitch your campaign
- Share Visual Map (Funnel)
- Send the campaign share code
- Share code email
Free or Paid:
When sharing your content via a public forum you will have to choose whether or not customers will have to buy the campaign or if they merely have to opt-in.
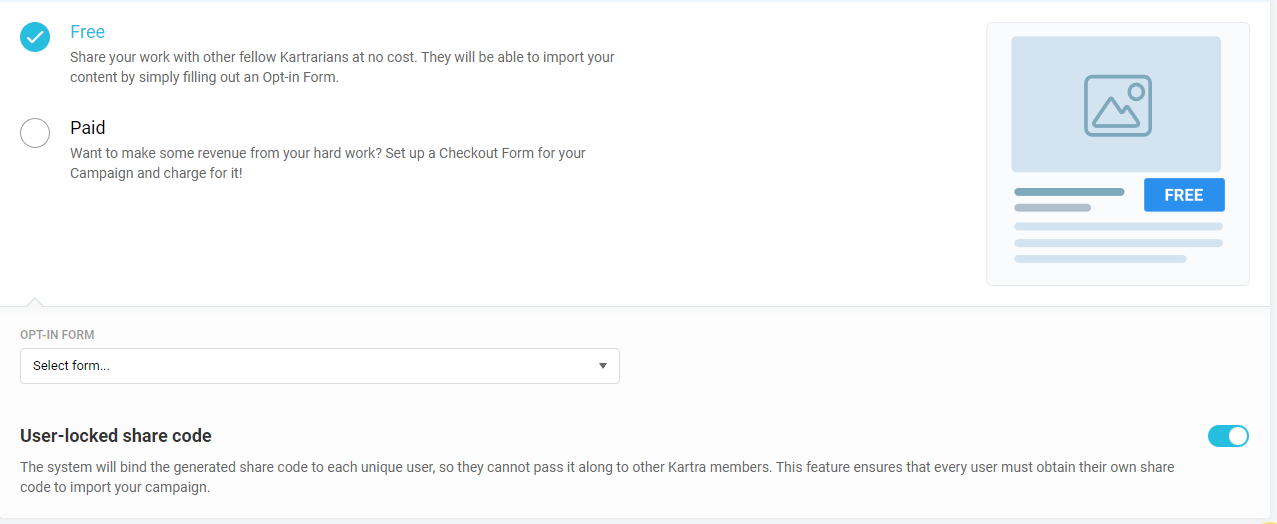
Paid services will require the customer to purchase via a product you have setup on your account while free options require them to fill out an opt-in form. Either way a lead will be added to your Kartra account.
We also allow our users to setup a user-locked share code. This is on by default and ensures only one person can use a given code. Turning this off will allow people to share the code around to multiple users.
Pitch your campaign:
The pitch builder will be the content shown to leads before they opt-in or purchase your campaign. In short, this is the information that will show when the “click” the campaign to see more information.
Users can add elements such as images, video, and text to create a short “blog” about their campaign.
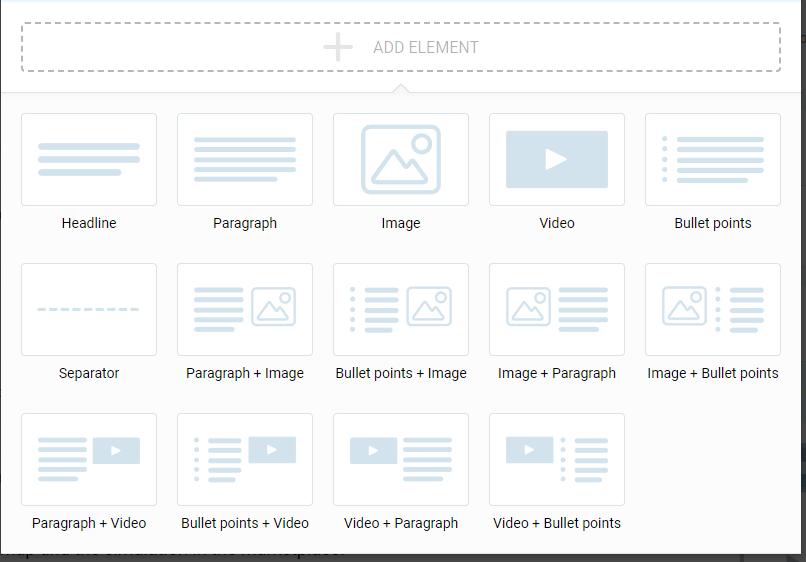
*Please note: You are not limited to one of these options and can add multiple ones as different elements.
*Please note: You cannot move sections within this mini-builder and you will want to ensure you add each section in the correct order / location.
Share Visual Map: (Also known as a Funnel)
This step allows for a variety of options on how to share / use the Visual Map (Funnel) created within the Funnel builder. This includes showing the full visual map (Funnel), the visual map (Funnel) with a simulation of the data within it, and not sharing any visual map (Funnel).
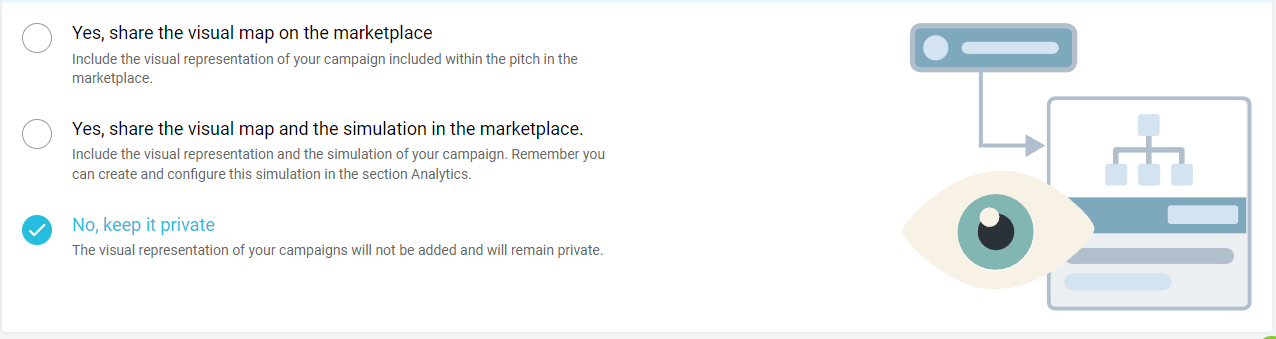
A visual map (Funnel) is a graphical representation of a campaign. This has no real affect on any Kartra content and is meant to create a means to show how a campaign will function. Most notably when you complete and share your visual map (Funnel), it will have different viewing and download options when presented to users via the marketplace.
You can find a comprehensive walk-through on our visual map builder here: https://documentation.kartra.com/visual-map/
Send the campaign share code / Share code email:
Though separate sections these two tabs are related to each other. When a user opts-in or purchases a campaign via the Kartra marketplace our system will need to send them a share code. “Send the campaign share code” involves setting up the email gateways that will be used to send the email. The “share code email” tab is a typical email editor that will allow you to customize the email your leads will receive when getting the email for the share code.
*Please note: It is important that the campaign_code dynamic variable be added to the email, otherwise the leads who purchase or request this campaign will not be able to see a share code in the emails they receive.
Finish:
Once you “Save and Next” via the sharing section of the campaign builder your campaign should be completed and will show up within the “campaigns” tab located here: https://app.kartra.com/campaigns
And with that you are done! Congratulation on setting up your campaign!